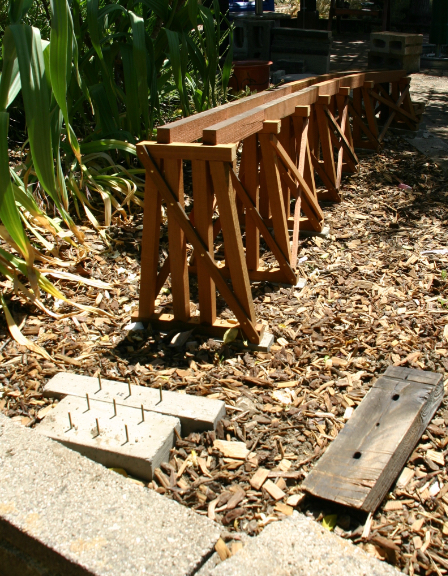
Phase four was dominated by over 50' of trestle work to get from the patio across a dip in the yard heading uphill toward the west. As with many other railroad projects, I started with a survey of prototype wood trestles. This is a small, light weight railroad, so I decided on four post per trestle bent, with a top and bottom cap, all 1"x1" heart redwood. The center two posts are vertical, and the outer two are spayed for bracing stability. All the parts are glued together with Titebond 3 outdoor glue, and then brad nailed together for extra strength. Diagonal braces are glued to each face, with a washer and brad at each junction.
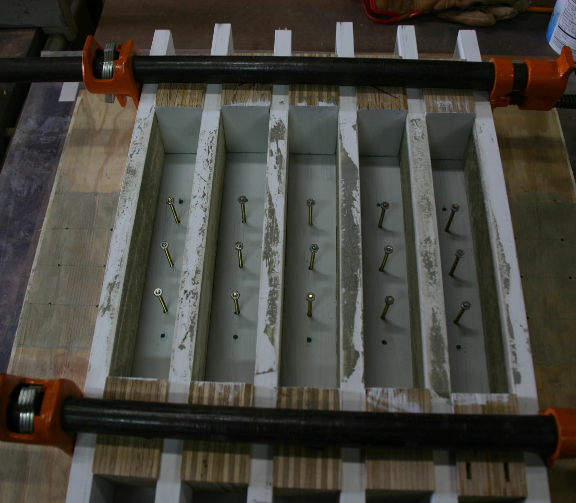
Each bent is bolted to a concrete footing with three 6-32 nuts. The footings were pre-cast in the shop, five at a time, in a set of break apart molds, which held three pieces of 6-32 threaded rod at exactly the proper location to fit the bents. Here is a set ready for the concrete.
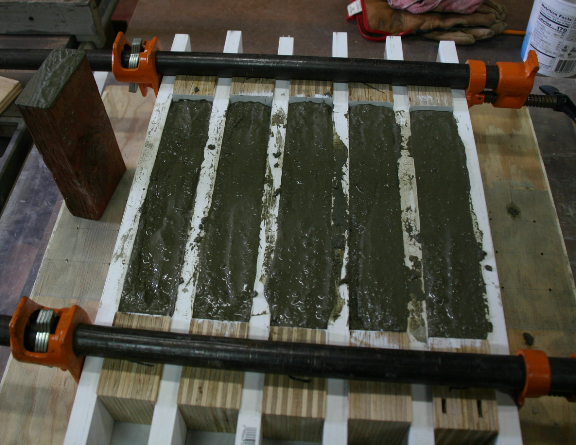
Cement has been poured, and will be left to cure for a couple days.
At each bent location, a hole was dug, cement plopped into the hole, and the footing was correctly positioned relative to the previous footing, and leveled. The next day, weed cloth was cut to fit between the bents, dirt was backfilled to leave the top of the footing exposed, ready to have the bent bolted in place. Here the first five bents have been installed, and the next five footings are ready to have bents installed.
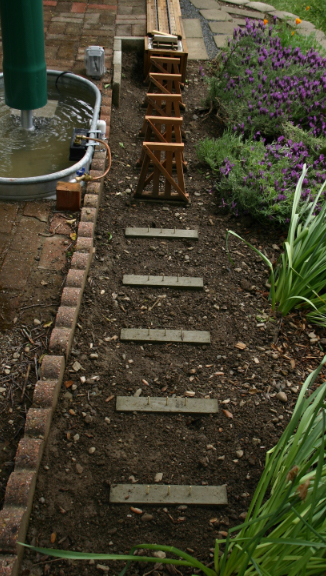
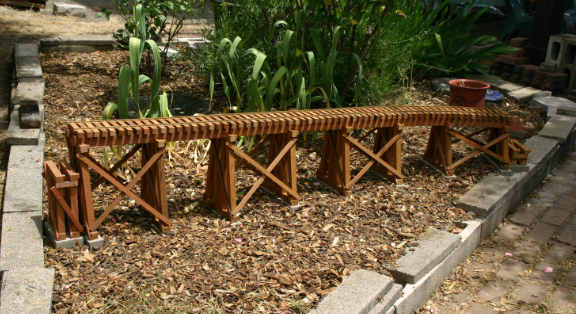
I used a laser level to determine what the grade needed to be to get to where I was going. I then used a 9" torpedo with a shim for the percent grade I wanted. After several footings were in place, I used this method to measure how high each of the individual bents needed to be. Each location and bent was individually numbered, making sure everything was installed in the correct location. Each pair of bents has diagonal cross bracing on each side, giving much more stability to the entire structure. Two 1"x1.5" running beams span between each bent, the foundation for the actual track. Track is then brad nailed to the running beam at each tie. This shows a section of the trestle between bridges 2 and 3, with the side bracing, top beams, and track installed. You can also see the support structures for the ends of the bridges, number 2 to the right and number 3 to the left.
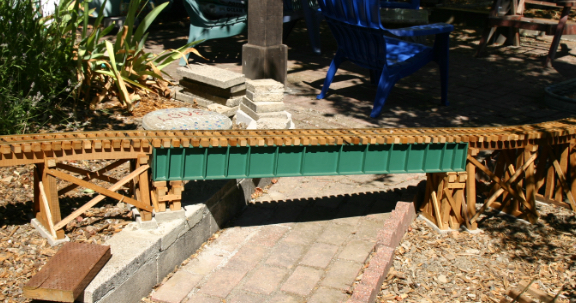
Here is bridge 2 in place.
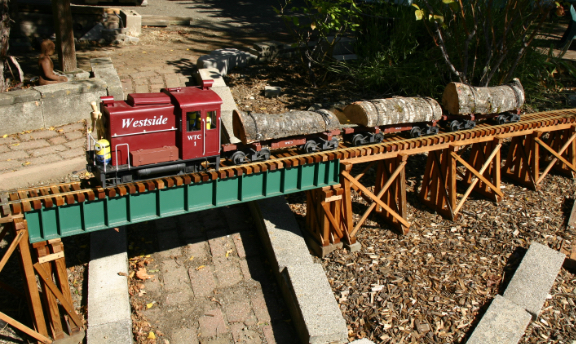
Here is bridge 3 in place, with WTC1 pulling a set of logs up the hill.
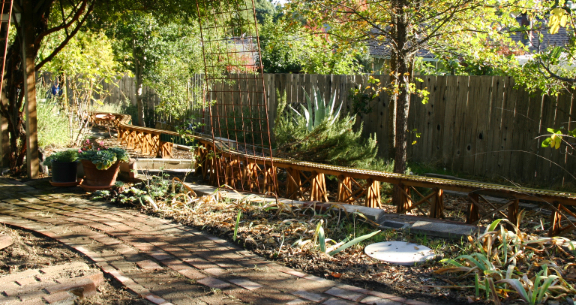
This shows almost the entire trestle section climbing up the hill.
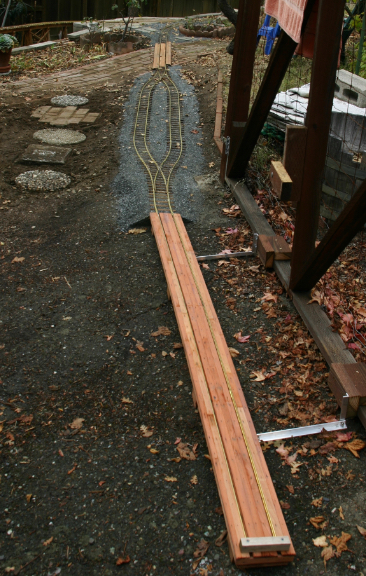
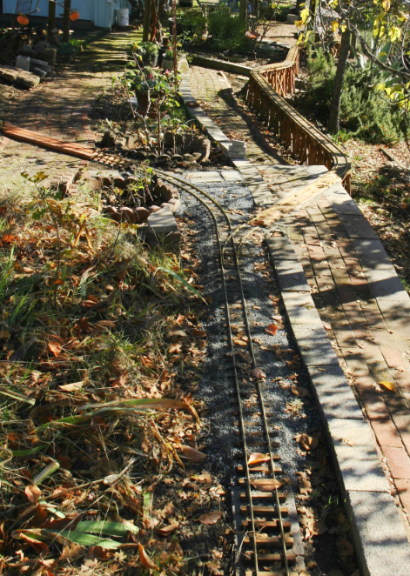
The track eventually crosses the path at a level grade crossing, before continuing up the hill. Here we see the current end of the mainline in the foreground of the photo. The spur running off to the left heads over to the firewood shed, the primary industry on the railroad.
This is the firewood spur from the north end. After crossing another path, a short run around allows for switching. The long tail of track in the foreground is where firewood is loaded from. This tail track can fold up if the large vehicle gate needs to be opened.