Evolution of a shop
In May of 2012, Lynn and I moved into a house we bought
in the northwest part of Ukiah, CA. One of the main attractions
was a 20' x 40' x 12' high, former RV garage, attached to the
downhill side of the house. This was to be my next shop space,
and we had already agreed that this time I would build the shop
first. In addition, I know exactly what I want to build in this
new space, which helps me in setting up the work space. My intention
is to build crystal and wood, geometric structures as experiments
in Intentional
Technology.
Documenting the process helped me deal with the staggering
magnitude of choices and decisions. It helped to see that it was
actually worse before, meaning that there really was progress.
This series starts in April, 2012, before we made the offer, and
runs through October, 2012.
We closed the deal and took possession in May. At that
point we arranged to have all the "stuff" stored in
Port Townsend moved to our new home in Ukiah in early June. My
tools and wood were a large part of the load. I prepared the shop
space as seemed fitting before the arrival.
There were some benches and storage existing in the
space, but they were poorly built, and in the wrong places.
I removed everything and salvaged all the material,
to expose the block wall and the floor.
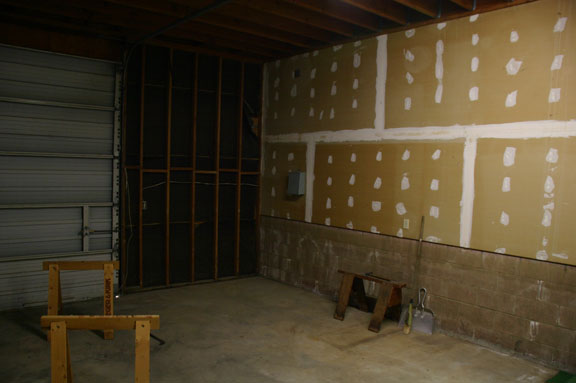
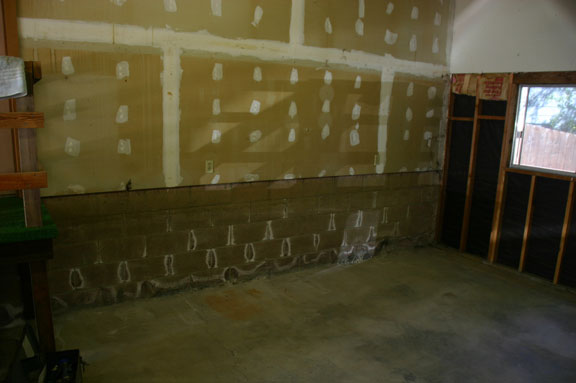
I sealed the concrete block, and painted the floor.
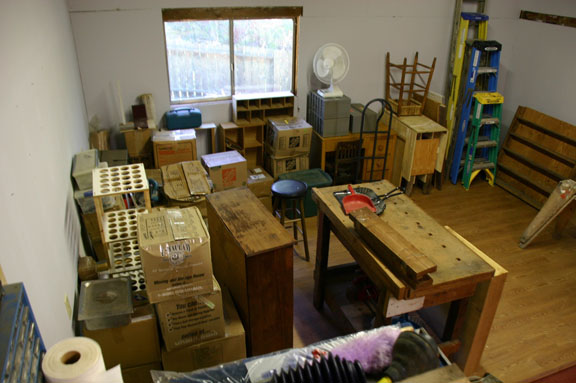
On June 6th the movers arrived, and unloaded all 20,000
pounds in one day. The piles were stunning to the point of despair!

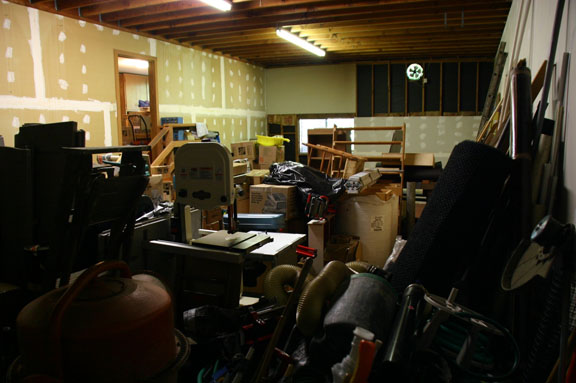
Based on influence by James Krenov, and with several
shops behind me, I had decided to wall off the east end to be
a 12' x 20' bench room, to be less dusty, and insulated for climate
control. The long side of the shop is due south here. Ukiah gets
too hot some summer afternoons, but always cools off. In the winter
it is cold and wet. I had marked off enough space before the movers
arrived, and in this void I started building.
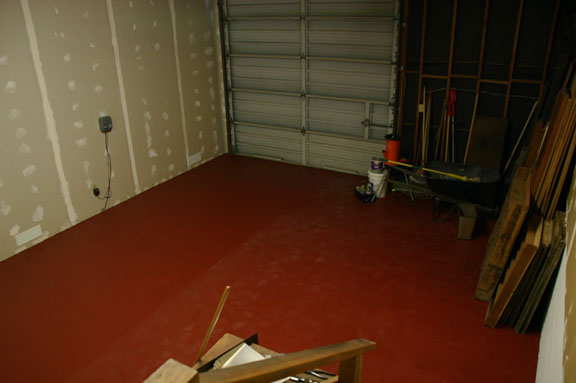
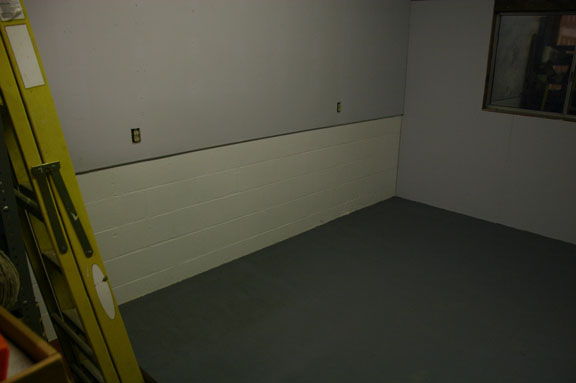
I finished insulating the east wall, finished the
drywall, and built the bench room floor with rigid foam panels
(about R-10) between nailers for the plywood. The result is solid,
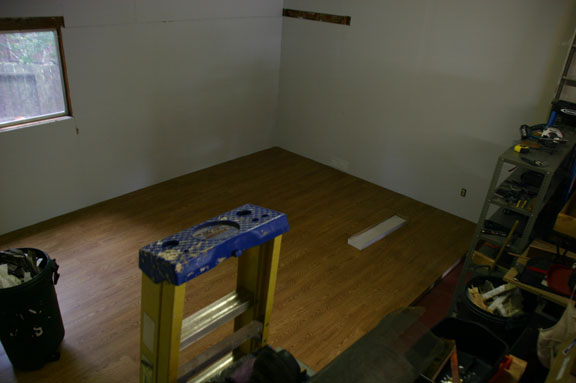
but gives more than the concrete. I painted the plywood, but was
unsatisfied with the final surface. Home Depot introduced me to
floating vinyl flooring. The result is easy to clean and durable.
Installation was satisfying.

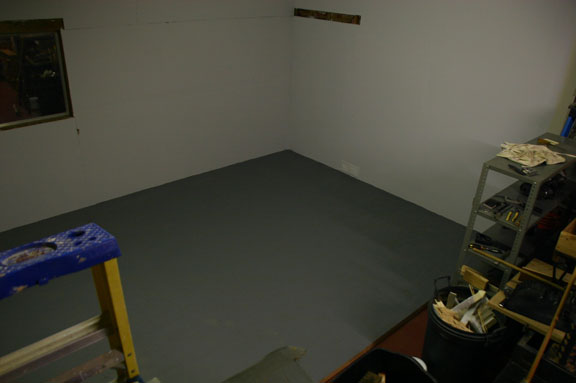
I immediately moved all the stuff that would eventually
live in the bench room into that relatively finished area. This
was the first of many moves, shifting piles from one area to another,
like the puzzles with only one open space, leaving room for new
construction.
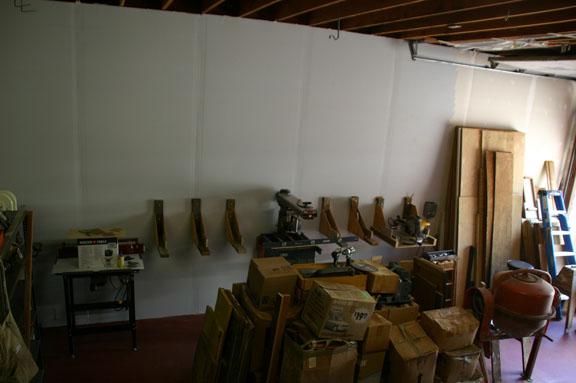
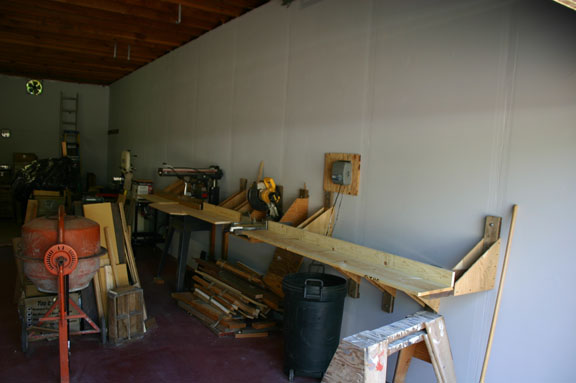
The south wall has a bench supporting both a chop
saw and a radial arm saw. I had just gotten rid of a radial arm
saw in Port Townsend, and moved into this garage, where there
was a radial arm saw waiting. I took it as a sign. I had the wood
angle brackets from my shop in the garage on Gise, in Port Townsend.
The brackets allow clear storage underneath.
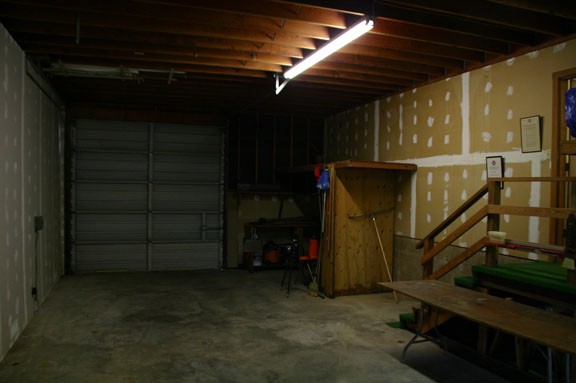
The summer sun pounds on the west wall of the shop.
The big RV roll up garage door is metal and radiated like an oven
too hot to touch. I added rigid foam panels on the roll up, and
fiberglass batts in the wall framing with noticeable improvement.
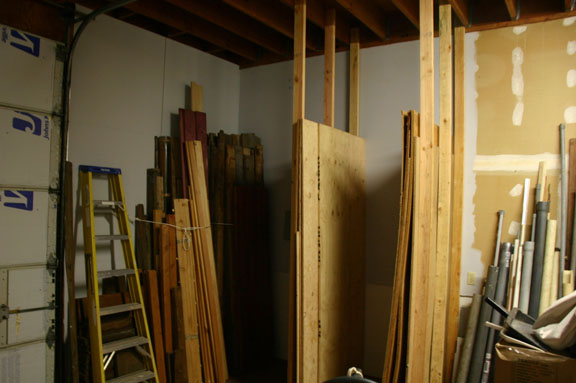
The northwest corner of the shop became the lumber
storage area, with a sturdy rack for plywood on edge.
As places were built for materials, space opened up
more, and the saw bench was completed.
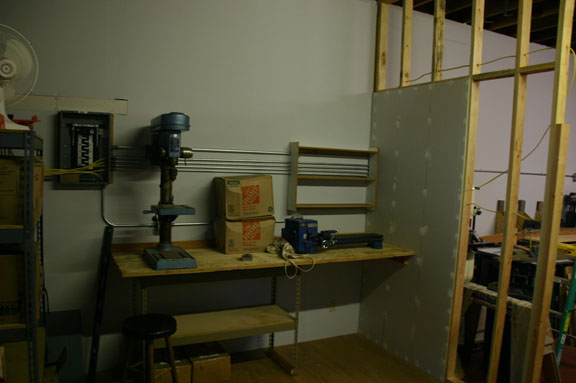
By this point I was picking final placement for the
various power tools, and it was time to begin wiring the shop.
A 30 amp service already existed, but was too small for my desires,
which include a welder eventually. I planned to have a new 100
amp service wired in. But I decided to do all the inside work
myself. Since the drywall was already installed, I used surface
mount conduit everywhere. I ran the pipe, and then built the bench
room walls around it.
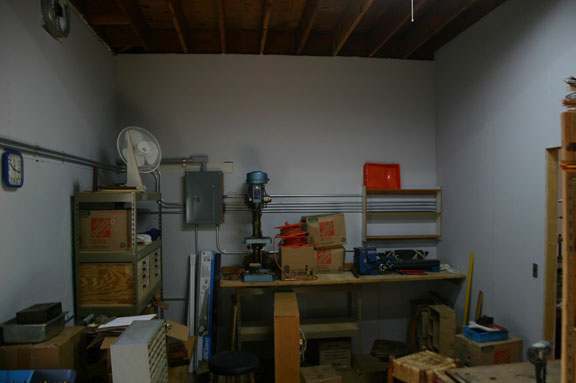
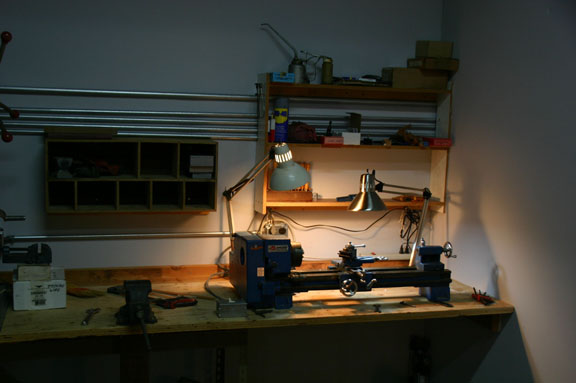
This is the first piece of bench room wall, which allowed me
to build a bench for the lathe and drill press.
After another shuffle, the north wall of the bench
room was open to install more conduit, a water line for the sink,
and an air pressure line for the eventual spray booth.
After that the rest of the bench room wall was framed,
and drywall hung at the floor level.
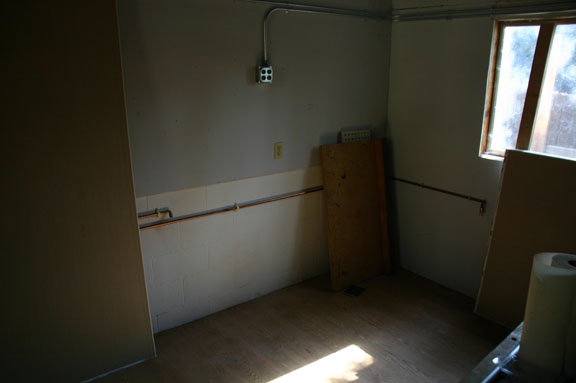
I hired an electrician to do the 100 amp connection
from my box to the main panel. Money well spent. But first I had
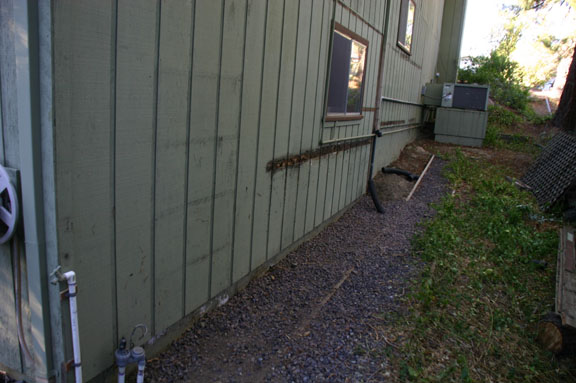
to deal with the existing situation on the outside east wall of
the house. In the first picture you can see the main water
line running through the wire rack frame, and then drooping all
along the side of the house. The shelf under the window was rotten
and had rotted a line through the siding where it had been attached.
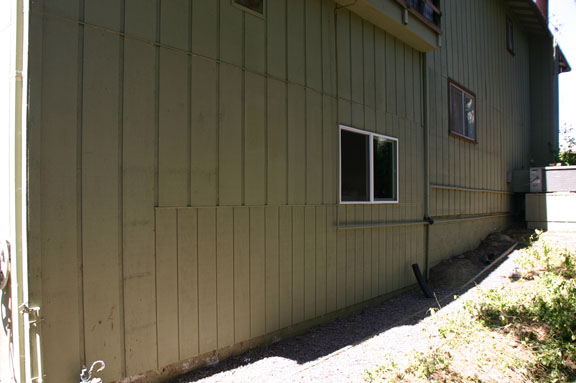
Plus, the gas line was poorly secured. In the next picture,
the debris has been removed and the water line has been buried.
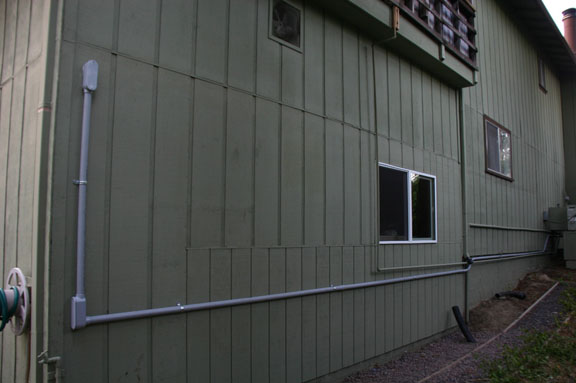
In the final picture the siding was replaced and painted, and a
new double pane window was installed.
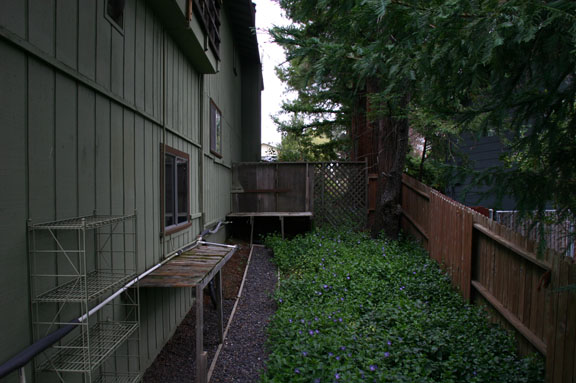
The next day the power arrived!
I finished the rest of the drywall, painted it, and
finished wiring all the breakers.
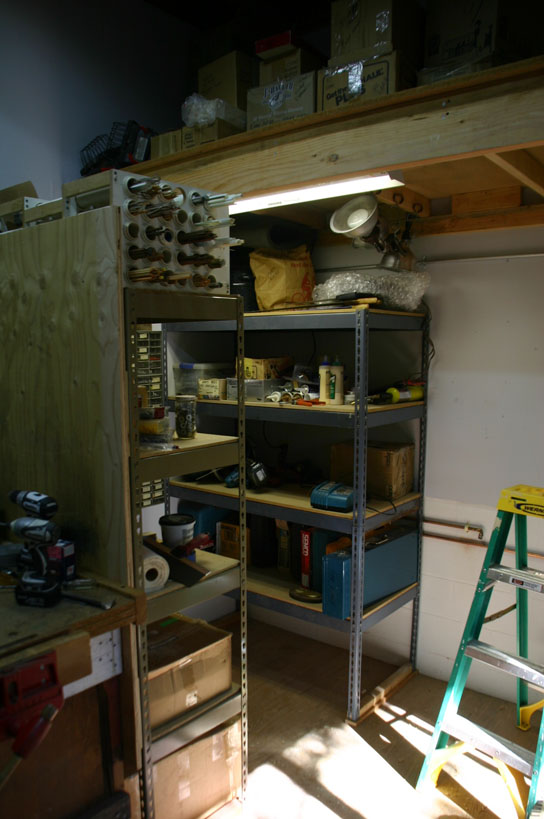
I had framed in a beam for a large storage shelf on
the north end of the room. Underneath, in one corner is a set
of shelf units.
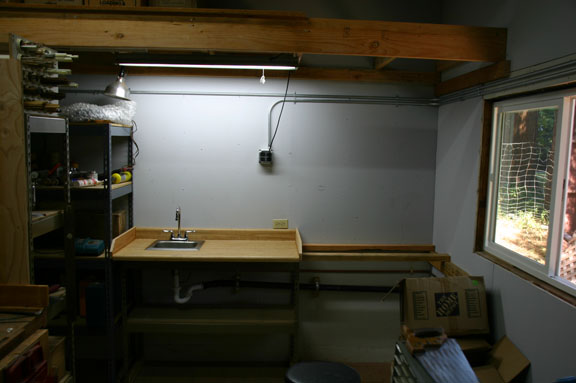
In the middle of that wall I installed a cold water
sink. The right hand corner will be a spray booth, about 3' cubed.
I plan to spray lacquer for the work I want to produce.
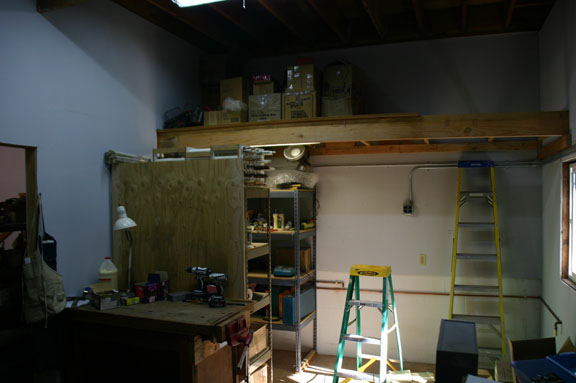
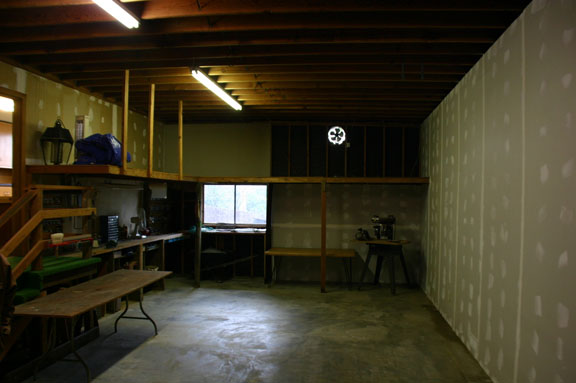
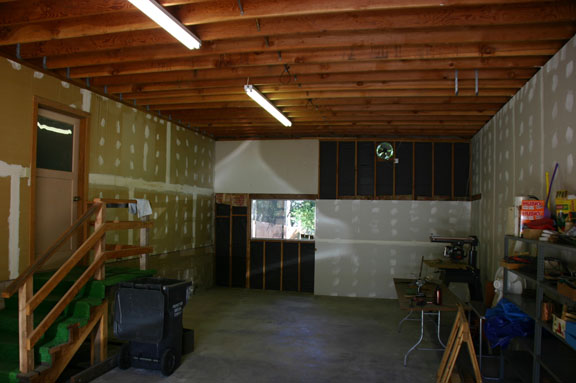
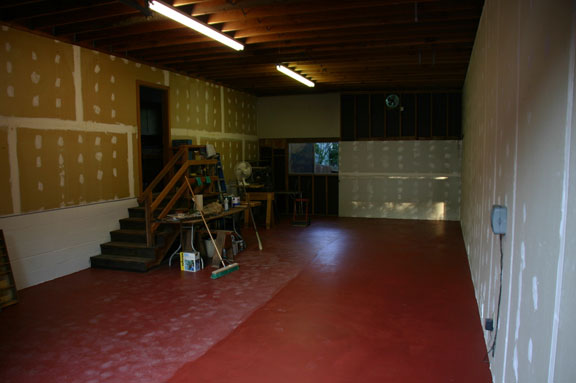
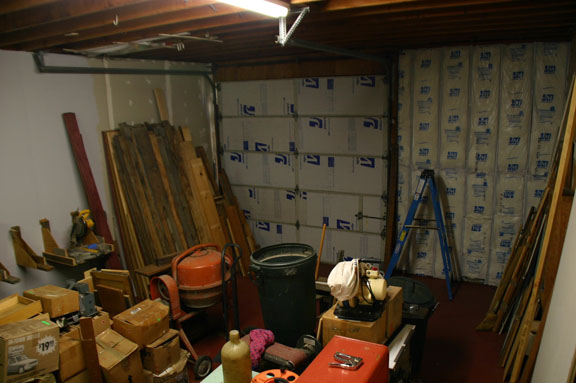
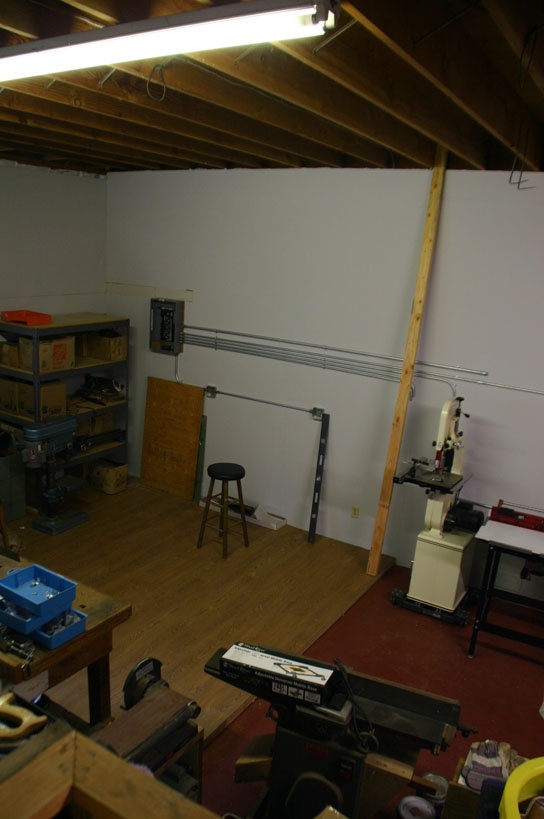
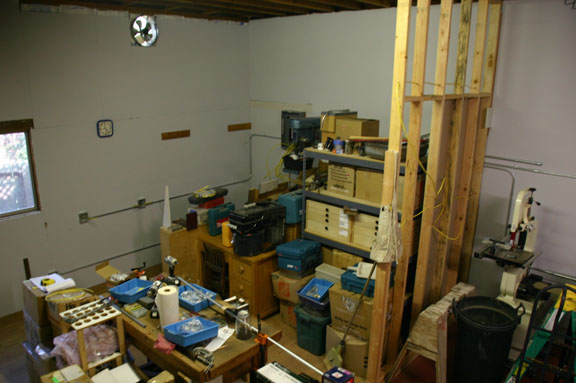
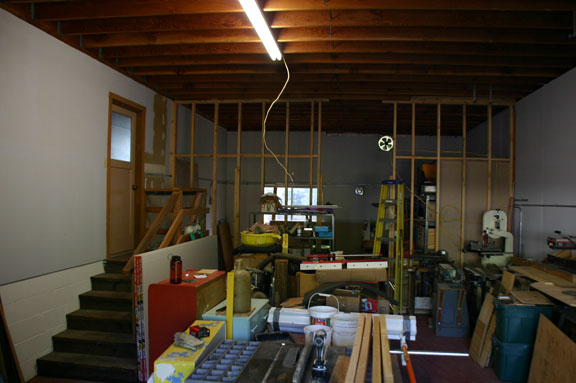
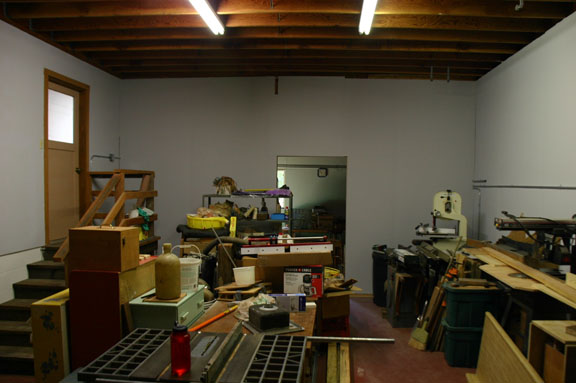
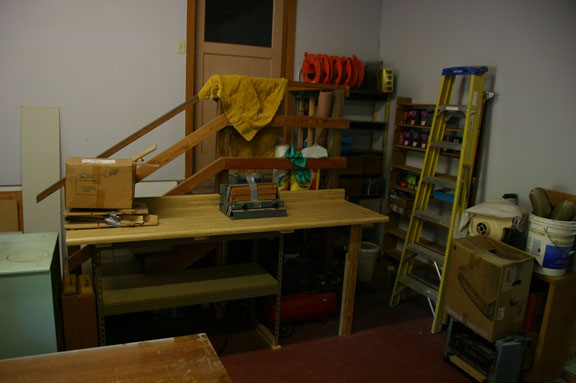
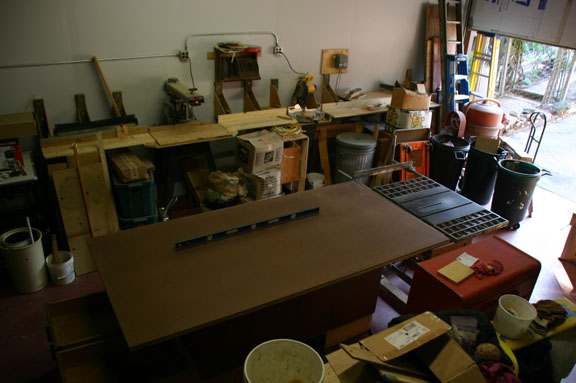
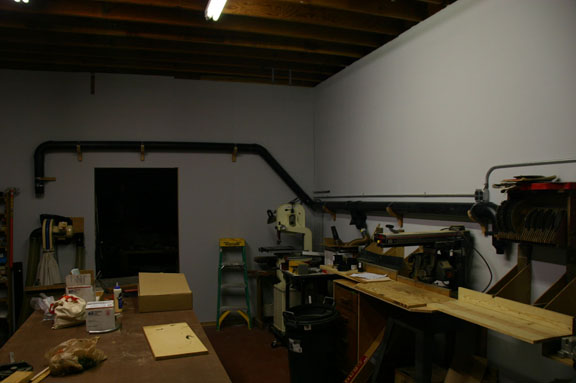
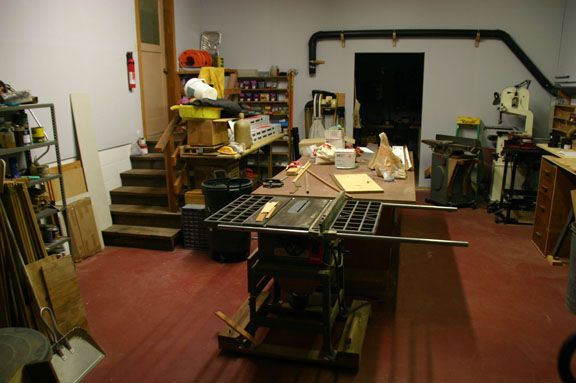
With the major pieces of the bench room constructed,
I turned to the larger machine room. The corner by the stairs
organizes all my construction hardware and nails. The side bench
will be sheet metal work, and the compressor lives underneath.
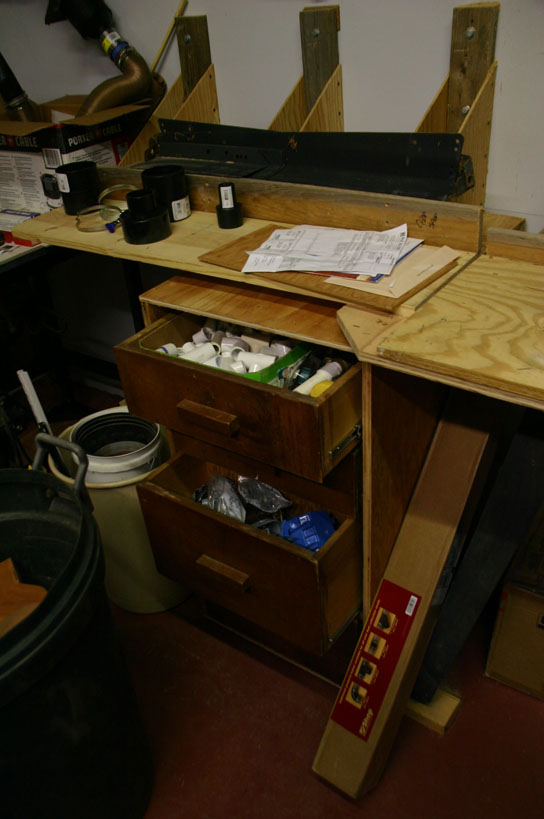
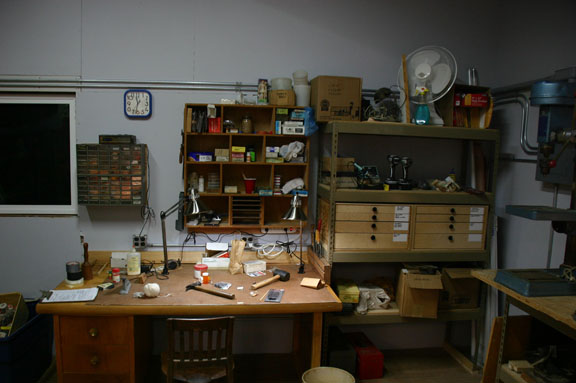
There was a very large desk in the house when we bought
it. I remodeled it into my table saw out table.
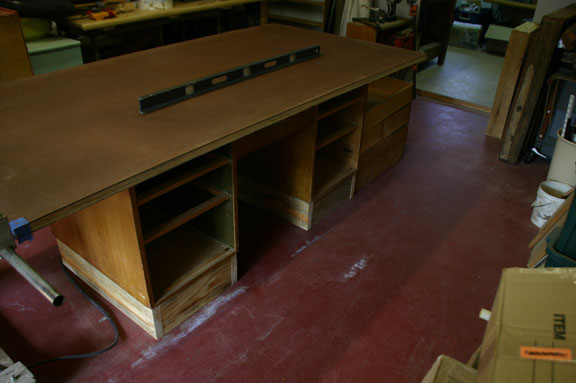
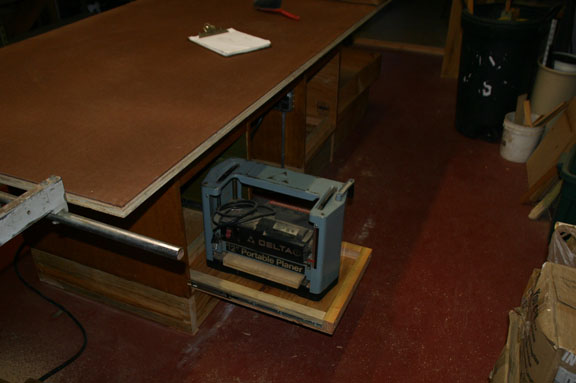
I removed some drawers and built heavy duty sliding
trays. The near one stores the planer, and the other holds the
small thickness sander.
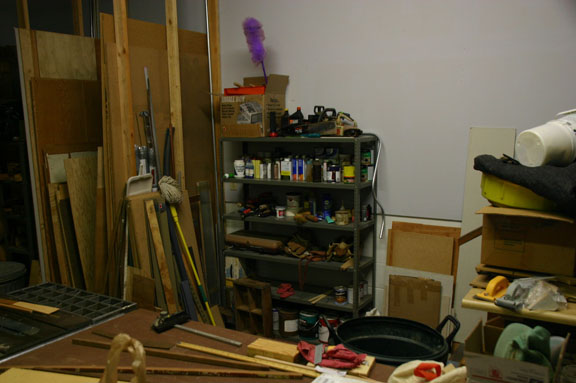
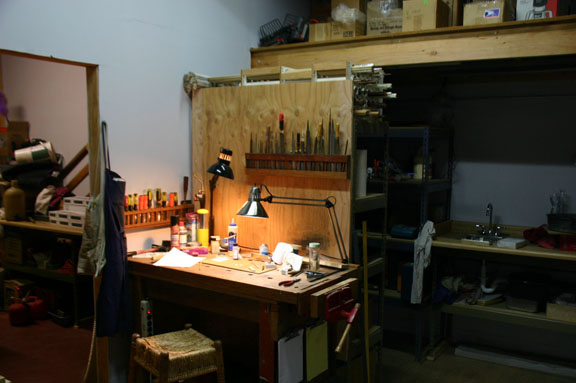
I was beginning to get down to finer details. One
shelf unit is for solvents and paints, which will eventually be
a locker. Four drawers left over from the big desk organized my
plumbing and electrical parts for the first time. My "C"
clamp racks fit in along the saw wall.

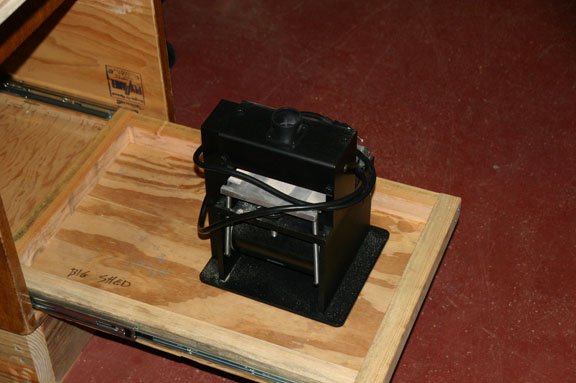
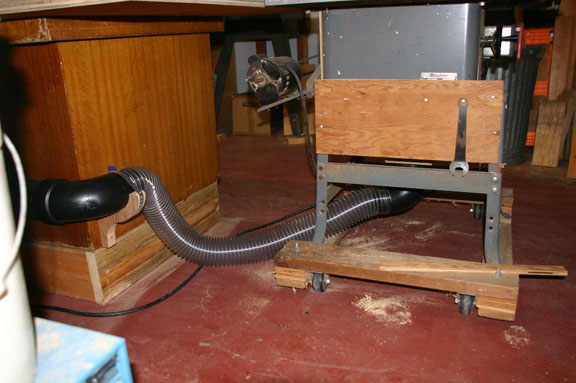
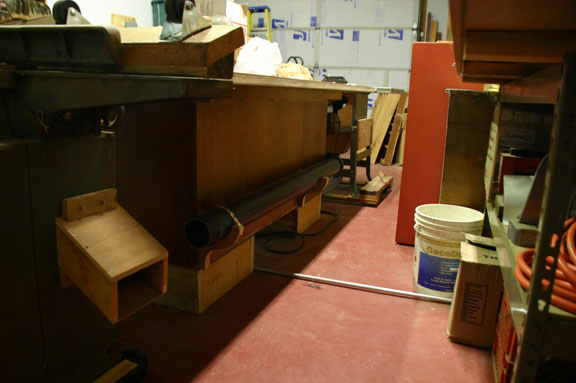
In Port Townsend I purchased a dust collector. It
is a modest wall mount Rockler unit. I can plug into the line
over the door for suction at the saws or the router table. Another
line connects to the table saw. While not perfect, these systems
help keep the dust under control.
I need more light as I get older, and I put extension
lamps at the various key points, on the workbench, the lathe and
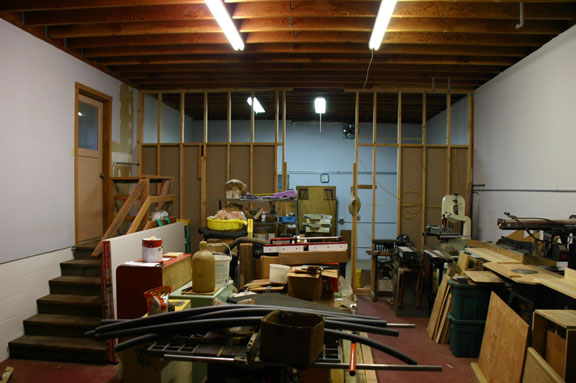
the main desk. I like the 6500 kelvin lamps now available.
The machine room is getting more organized, and there
is more floor showing now!
Now at the beginning of November, this space is ready
to function as my shop. As always, the final tuning will be ongoing.
As I use this space, subtle improvements will be required. Other
than a welder, I don't foresee any new major tools. While this
is the largest shop area I have ever owned, it is barely able
to contain all I currently have. I suspect this enforced constraint
will be good for my budget. However, I am very excited to see
what will come out of this space. It feels like it has a lot of
capacity for indulging my creative impulses.